Concurrency is a vital aspect of modern Android development, enabling applications to perform multiple tasks simultaneously without compromising performance or user experience. In this blog, we will delve into the concepts of Handlers and Threads in the context of Android development using Kotlin, with a particular focus on implementing a countdown timer.
Table of Contents
Understanding Concurrency in Android
Concurrency involves multiple tasks running in overlapping periods, providing the illusion of simultaneous execution. In Android, the main thread, also known as the UI thread, handles all user interface-related tasks. To keep the UI responsive, long-running operations like network requests or database transactions must be offloaded to background threads.
Key Concepts Concurrency in Android
- Threads: A thread is a single sequence of execution within a program. Multiple threads can run concurrently, sharing the same resources but executing independently.
- Handlers: A Handler allows communication between the background thread and the main thread. It enables the posting of tasks from a worker thread to be executed on the main thread.
Implementing a Countdown Timer using Handlers and Threads – Concurrency in Android
Let’s dive into an example to illustrate the use of Handlers and Threads in Android by implementing a simple countdown timer.
Setting Up the Project
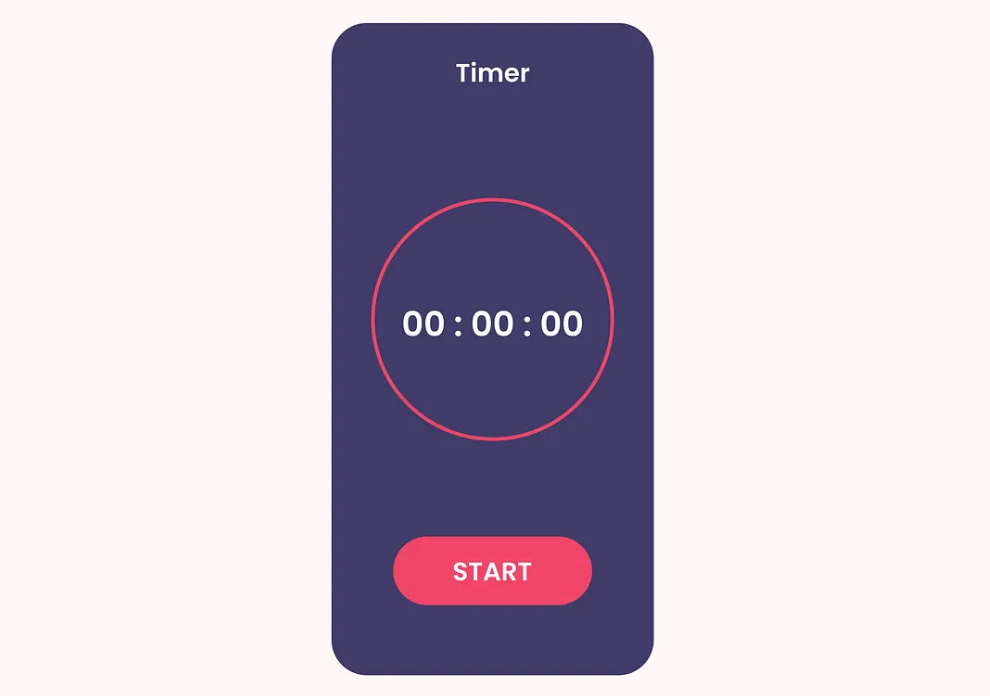
Create a new Android project in Android Studio. Ensure you select Kotlin as the language. In the activity_main.xml layout file, define the UI elements for displaying the countdown timer and a button to start it.
<!-- activity_main.xml -->
<LinearLayout xmlns:android="http://schemas.android.com/apk/res/android"
    xmlns:tools="http://schemas.android.com/tools"
    android:layout_width="match_parent"
    android:layout_height="match_parent"
    android:orientation="vertical"
    android:gravity="center"
    tools:context=".MainActivity">

    <TextView
        android:id="@+id/timerTextView"
        android:layout_width="wrap_content"
        android:layout_height="wrap_content"
        android:text="Countdown Timer"
        android:textSize="30sp"
        android:layout_marginBottom="20dp"/>

    <Button
        android:id="@+id/startButton"
        android:layout_width="wrap_content"
        android:layout_height="wrap_content"
        android:text="Start Timer"/>

</LinearLayout>
Implementing the Countdown Timer
In MainActivity.kt, implement the countdown timer using Handlers and Threads. The countdown will start from 10 and decrement every second until it reaches 0.
// MainActivity.kt
package com.example.countdowntimer

import androidx.appcompat.app.AppCompatActivity
import android.os.Bundle
import android.os.Handler
import android.os.Looper
import android.widget.Button
import android.widget.TextView

class MainActivity : AppCompatActivity() {

    private lateinit var timerTextView: TextView
    private lateinit var startButton: Button
    private val handler = Handler(Looper.getMainLooper())
    private var countdownTime = 10

    override fun onCreate(savedInstanceState: Bundle?) {
        super.onCreate(savedInstanceState)
        setContentView(R.layout.activity_main)

        timerTextView = findViewById(R.id.timerTextView)
        startButton = findViewById(R.id.startButton)

        startButton.setOnClickListener {
            startCountdown()
        }
    }

    private fun startCountdown() {
        countdownTime = 10
        Thread {
            while (countdownTime > 0) {
                Thread.sleep(1000)
                countdownTime--

                handler.post {
                    timerTextView.text = countdownTime.toString()
                }
            }
            handler.post {
                timerTextView.text = "Done!"
            }
        }.start()
    }
}
Understanding the Code
- Handler Initialization: The
Handleris initialized withLooper.getMainLooper(), ensuring it runs on the main thread. This is crucial for updating the UI from a background thread. - Start Countdown: When the start button is clicked, the
startCountdownmethod is called. It initializes the countdown time and starts a newThread. - Background Thread: Inside the new thread, a loop decrements the
countdownTimeevery second (Thread.sleep(1000)). TheHandler.postmethod is used to update theTextViewon the main thread. - Updating the UI: The
Handler.postmethod ensures that theTextViewis updated on the main thread, preventing UI thread blocking.
Enhancing the Countdown Timer
For a more robust implementation, consider handling edge cases and improving user experience. For instance, disable the start button while the countdown is running and provide a way to reset the timer.
// Enhanced MainActivity.kt
package com.example.countdowntimer

import androidx.appcompat.app.AppCompatActivity
import android.os.Bundle
import android.os.Handler
import android.os.Looper
import android.widget.Button
import android.widget.TextView

class MainActivity : AppCompatActivity() {

    private lateinit var timerTextView: TextView
    private lateinit var startButton: Button
    private val handler = Handler(Looper.getMainLooper())
    private var countdownTime = 10
    private var countdownRunning = false

    override fun onCreate(savedInstanceState: Bundle?) {
        super.onCreate(savedInstanceState)
        setContentView(R.layout.activity_main)

        timerTextView = findViewById(R.id.timerTextView)
        startButton = findViewById(R.id.startButton)

        startButton.setOnClickListener {
            if (!countdownRunning) {
                startCountdown()
            }
        }
    }

    private fun startCountdown() {
        countdownTime = 10
        countdownRunning = true
        startButton.isEnabled = false

        Thread {
            while (countdownTime > 0) {
                Thread.sleep(1000)
                countdownTime--

                handler.post {
                    timerTextView.text = countdownTime.toString()
                }
            }
            handler.post {
                timerTextView.text = "Done!"
                startButton.isEnabled = true
                countdownRunning = false
            }
        }.start()
    }
}
Additional Considerations
Thread Safety
While the above implementation works for a simple countdown timer, handling more complex scenarios requires ensuring thread safety. For example, accessing shared resources or updating UI components from multiple threads simultaneously can lead to race conditions. Synchronization mechanisms like synchronized blocks or other concurrency constructs in Kotlin, such as Mutex from Kotlin coroutines, can be used to manage these issues.
Coroutines
Kotlin coroutines provide a more modern and efficient way to handle concurrency. They are lightweight and offer structured concurrency, making them a preferred choice for managing background tasks in Android applications.
// Coroutine-based Countdown Timer
package com.example.countdowntimer

import androidx.appcompat.app.AppCompatActivity
import android.os.Bundle
import android.widget.Button
import android.widget.TextView
import kotlinx.coroutines.*

class MainActivity : AppCompatActivity() {

    private lateinit var timerTextView: TextView
    private lateinit var startButton: Button
    private var countdownTime = 10
    private var countdownJob: Job? = null

    override fun onCreate(savedInstanceState: Bundle?) {
        super.onCreate(savedInstanceState)
        setContentView(R.layout.activity_main)

        timerTextView = findViewById(R.id.timerTextView)
        startButton = findViewById(R.id.startButton)

        startButton.setOnClickListener {
            if (countdownJob == null || countdownJob?.isCompleted == true) {
                startCountdown()
            }
        }
    }

    private fun startCountdown() {
        countdownTime = 10
        startButton.isEnabled = false

        countdownJob = CoroutineScope(Dispatchers.Main).launch {
            while (countdownTime > 0) {
                delay(1000)
                countdownTime--
                timerTextView.text = countdownTime.toString()
            }
            timerTextView.text = "Done!"
            startButton.isEnabled = true
        }
    }

    override fun onDestroy() {
        super.onDestroy()
        countdownJob?.cancel()
    }
}
Advantages of Using Coroutines
- Simpler Syntax: Coroutines simplify asynchronous code with a sequential, readable style.
- Structured Concurrency: Coroutines provide structured concurrency, ensuring that you don’t have to manage thread lifecycles manually.
- Resource Management: Coroutines are lightweight and handle resource management efficiently.
Conclusion
Concurrency is a critical aspect of Android development, ensuring smooth user experiences by offloading heavy tasks to background threads. Handlers and Threads are foundational concepts for managing concurrency, but Kotlin coroutines offer a more modern and efficient approach.
In this blog, we implemented a countdown timer using both Handlers and Threads and explored an enhanced version using Kotlin coroutines. Understanding these concurrency mechanisms empowers you to build responsive and robust Android applications. As you delve deeper into Android development, consider leveraging coroutines for more complex and efficient concurrency management.